Adulting Merit Badge Embroidered Iron-On Patches (Achievements - Set 5)
- Regular
- $ 17.99
- Sale
- $ 17.99
- Regular
Sold Out
- Unit Price
- per
Shipping calculated at checkout.
Unconventional Merit Patches Designed For Life's Noteworthy Achievements
Adulting is hard. Someone should make iron-on merit badge patches to celebrate everyday adulting achievements. Oh wait. We did!
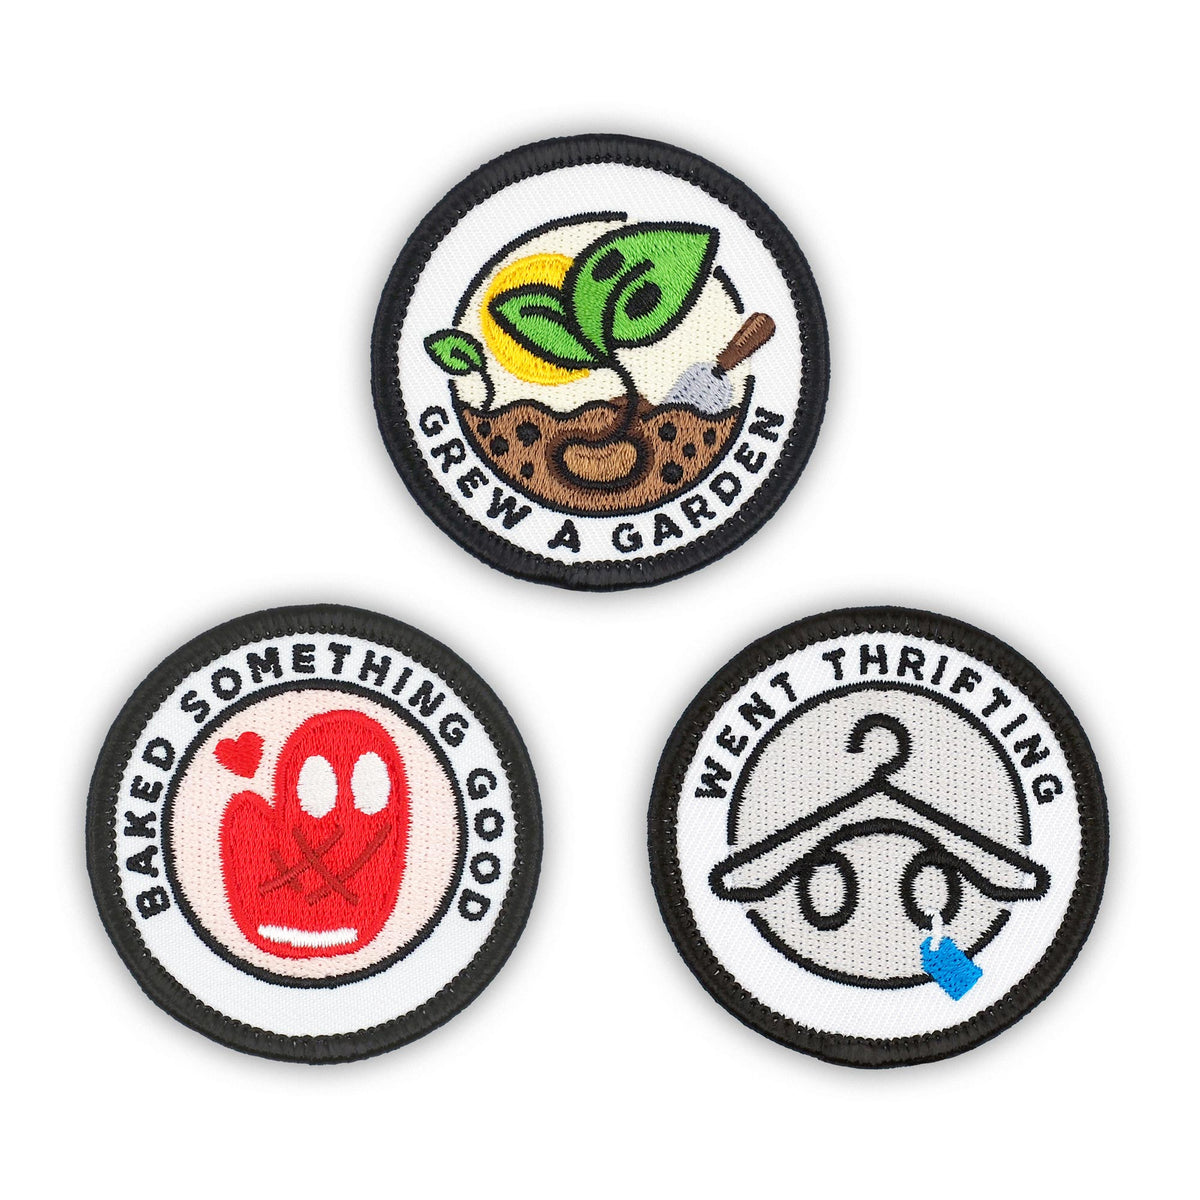
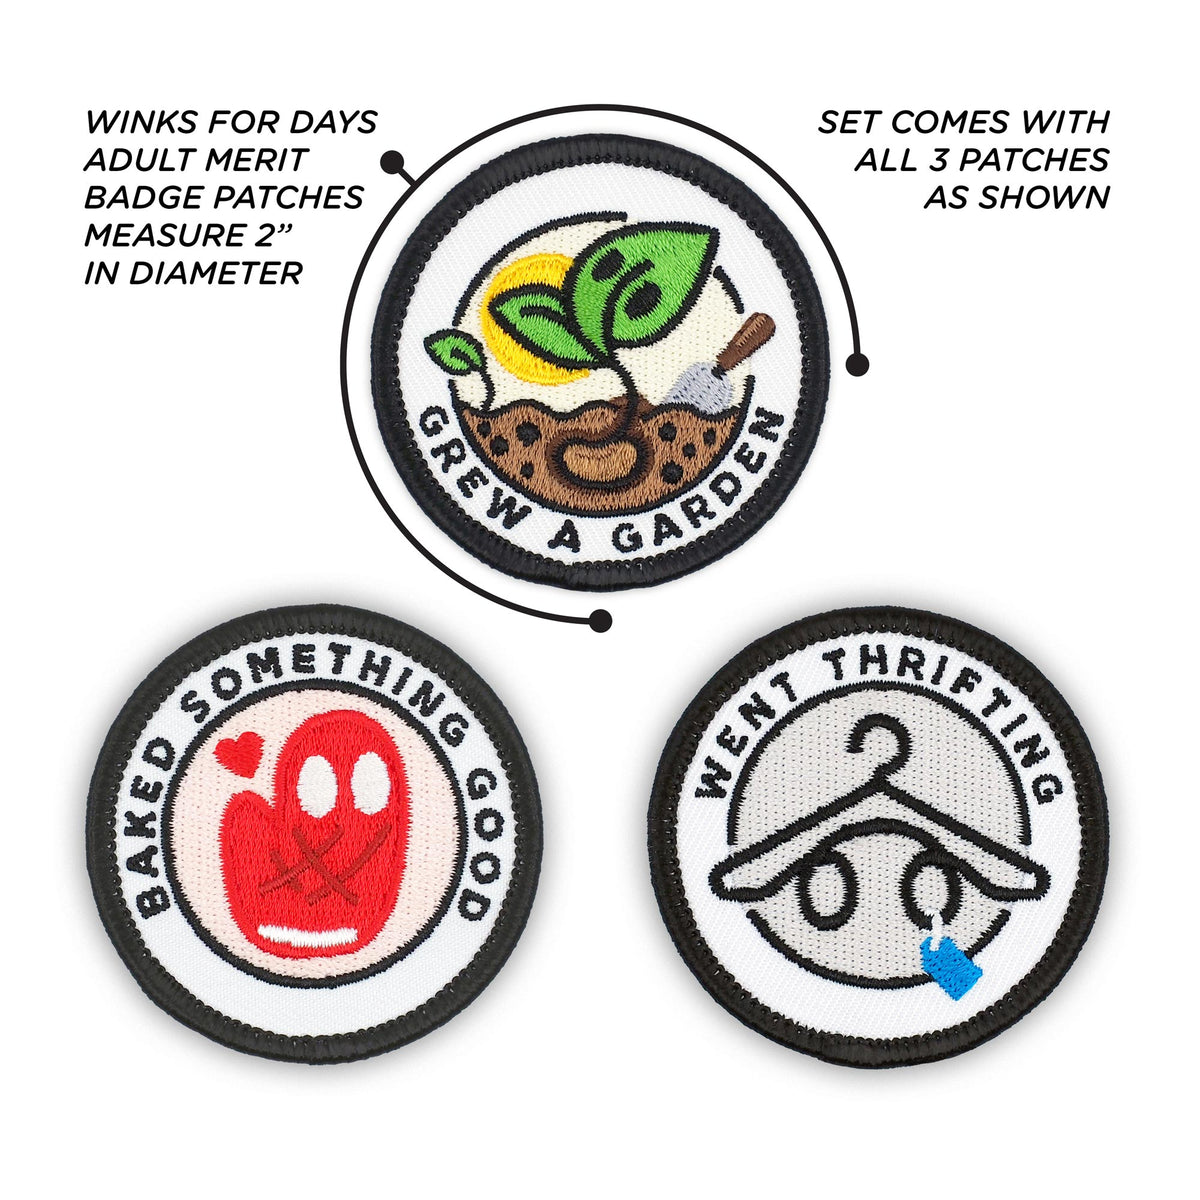
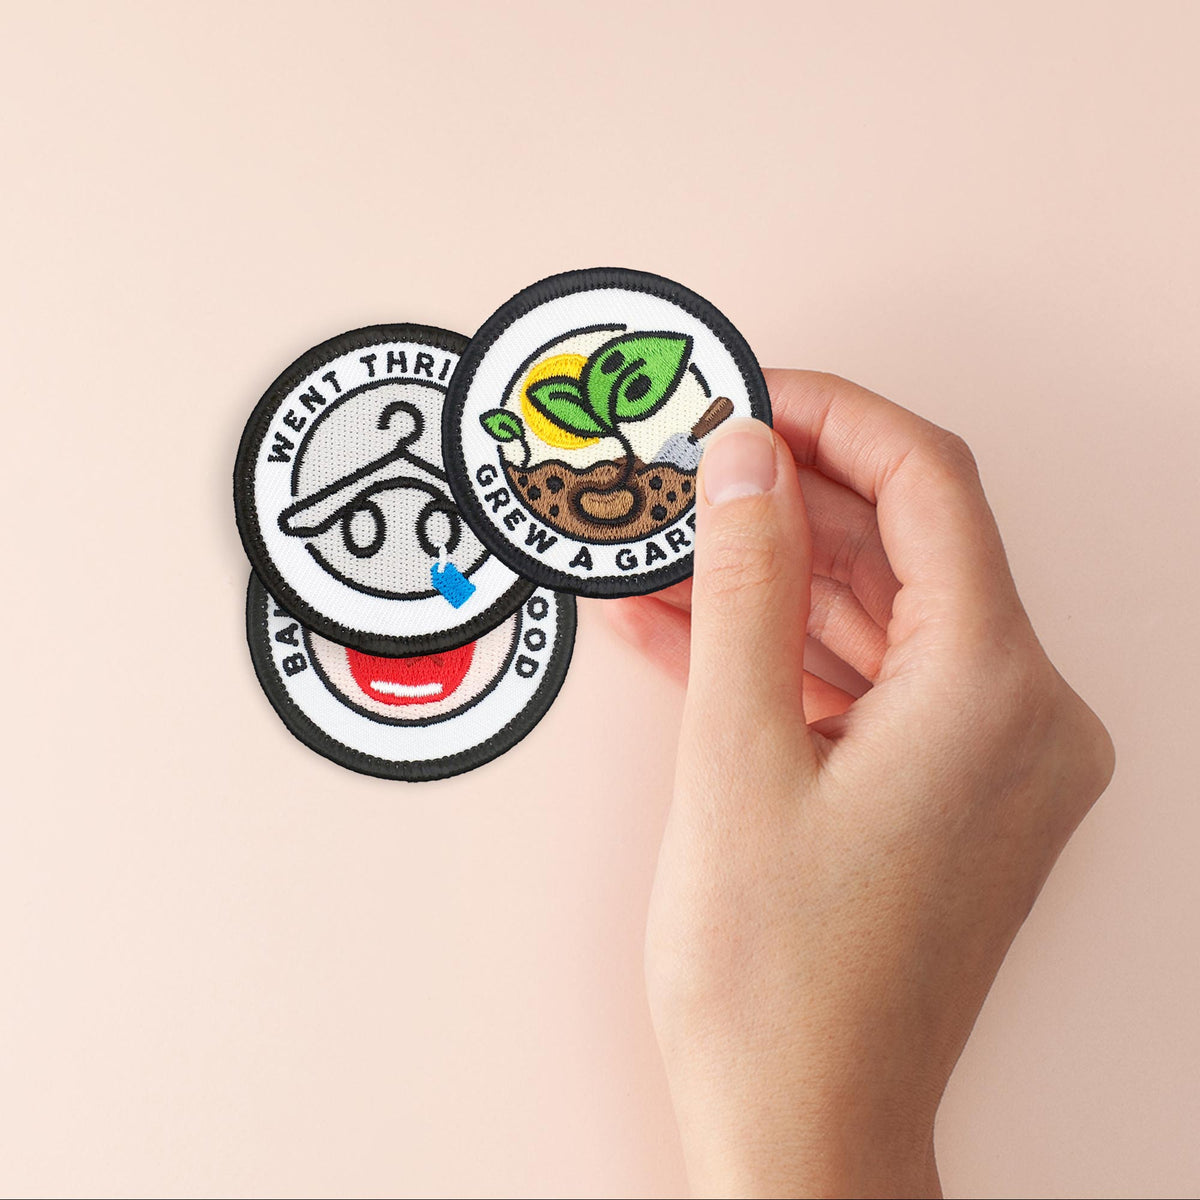
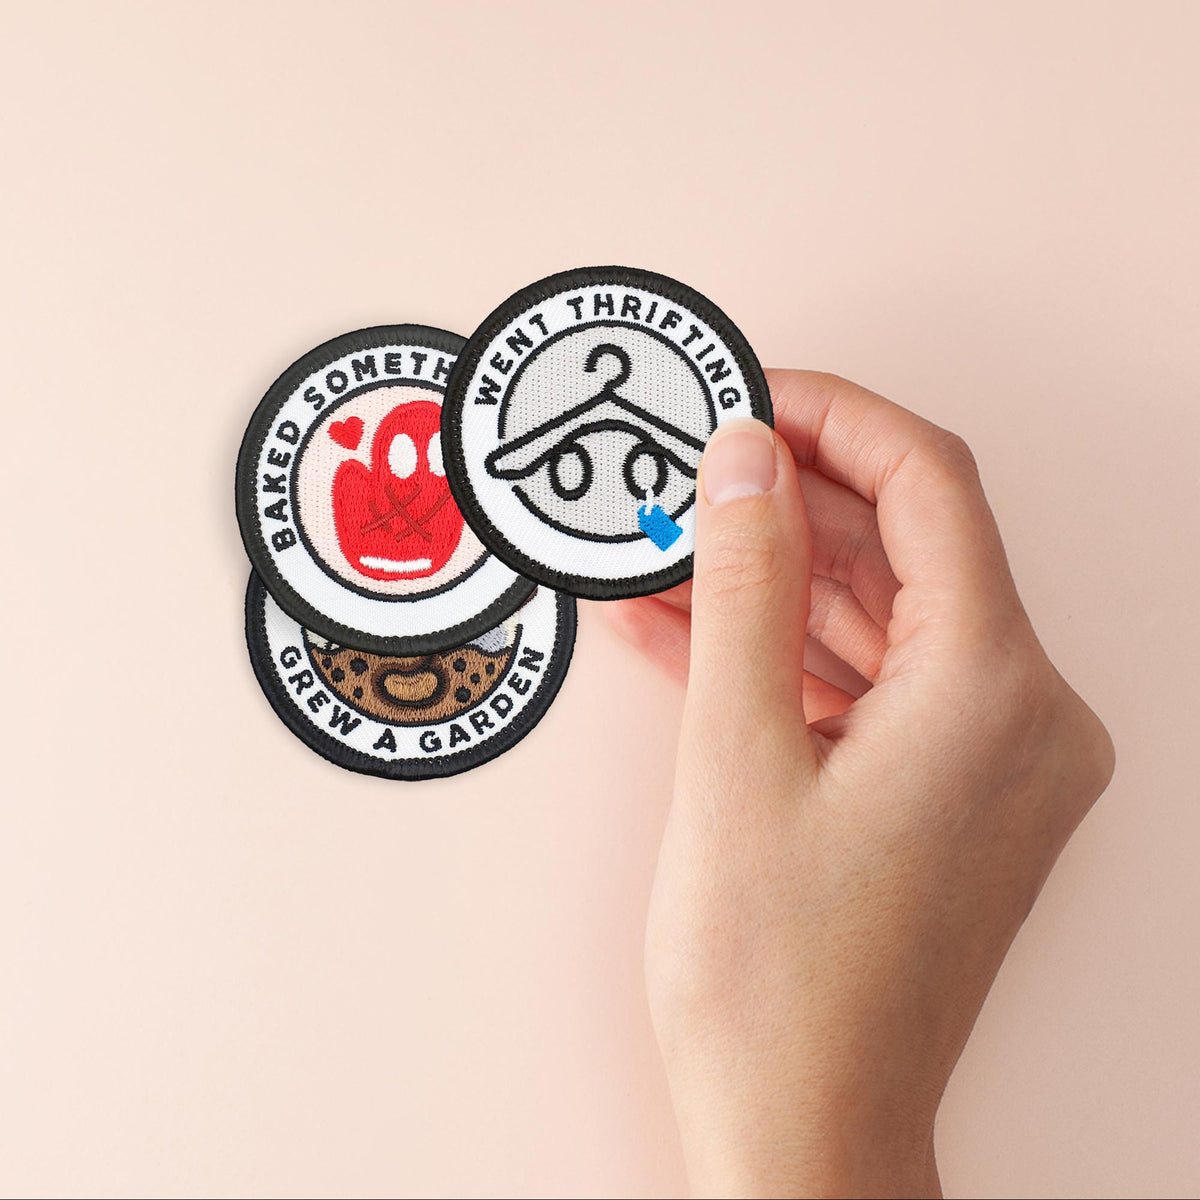
The “Achievements - Set 5” set of Winks For Days merit patches includes 3 patches. Baked Something Good, Grew A Garden and Went Thrifting. A thrifty gardener who bakes? You’re going to make someone very happy one day. Go ahead and make yourself happy by slapping these patches onto your bag.
Baked Something Good

About These Merit Badge Patches
Baked Something Good
The Baked Something Good merit badge is earned by those who have mastered the art of turning flour, sugar, eggs, and butter into pure magic. By good, we mean visually appealing, well-balanced, with just the right amount of sweetness to make you want to come back for more. Excuse us while we pour ourselves a glass of milk.
Grew A Garden
Grew A Garden
Look what just popped up! The Grew A Garden merit badge! It’s about time someone recognized all the hard work you put into cultivating and maintaining fresh flowers, fruits, vegetables, and herbs. Take pride in your harvest and let everyone know who has the greenest thumb in the business. Can you dig it?
Went Thrifting
Went Thrifting
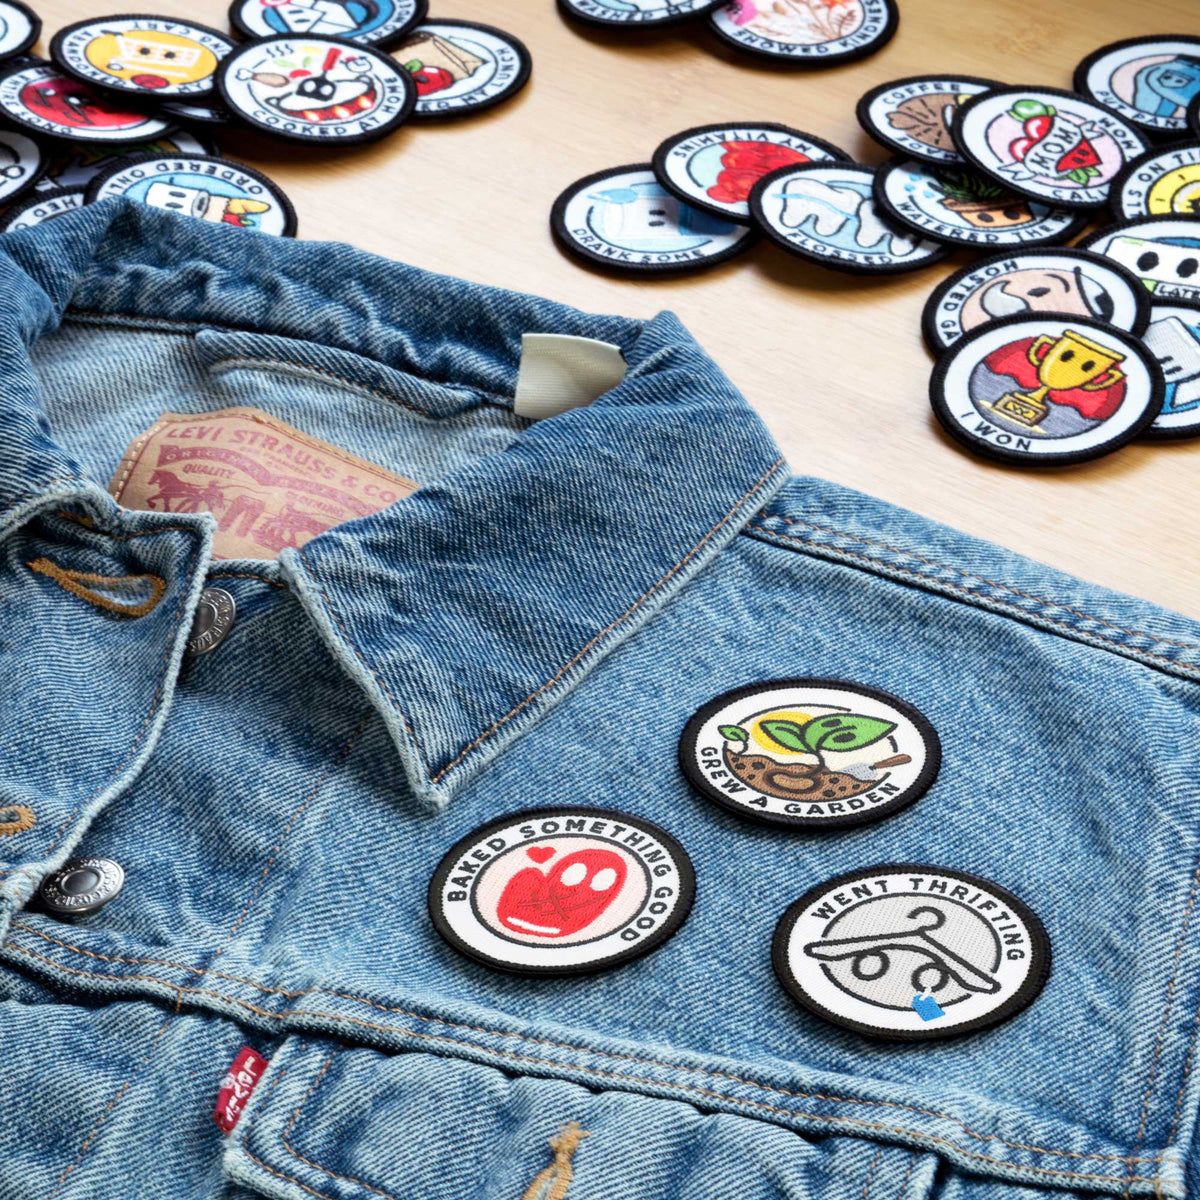
Show off your thrifting skills and expertise with the Went Thrifting merit badge! Earn it by successfully finding hidden gems in thrift stores, haggling for the best deals, and styling unique and trendy outfits from your thrifted finds. What a great way to decorate that “new to you” denim jacket or vintage sweatshirt!

About These Merit Badge Patches
- WHAT’S INCLUDED: Each set includes THREE (3) Merit Badge Patches as shown. Winks For Days offers many different sets to choose from. Want to collect them all? Come back when you’ve earned it!
- QUALITY EMBROIDERY MATTERS: Adulting Merit Badge patches are made with colorful polyester thread. Each patch features beautiful embroidery that is made to last. We put care and quality into each and every stitch. A lot of thought also goes into making our patches in sizes that work for most people and most projects. Each patch is 2”H x 2”W
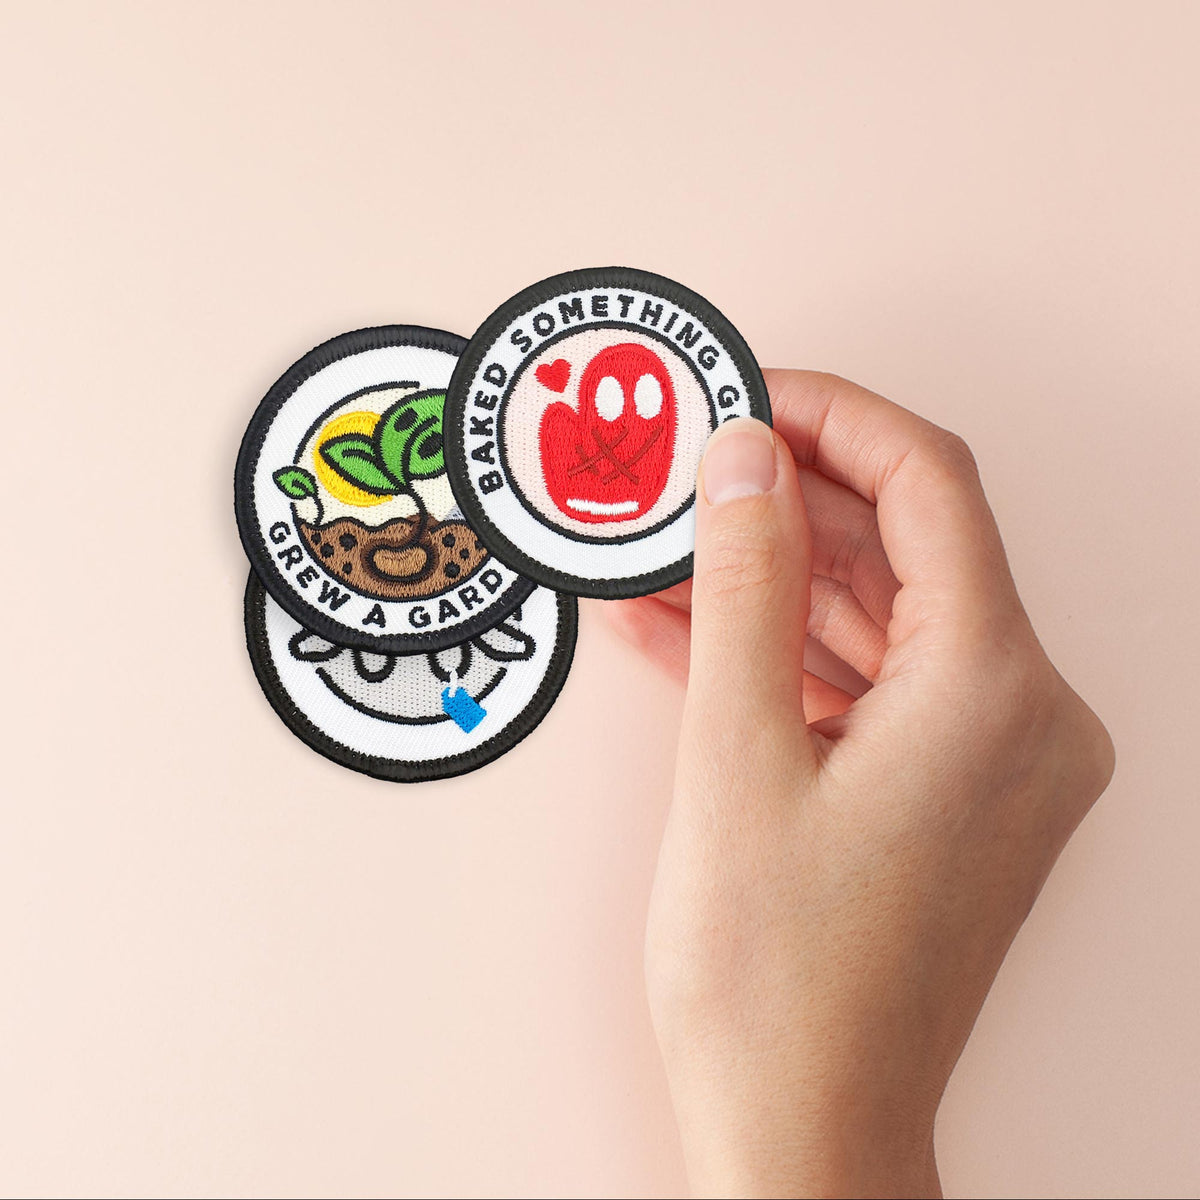
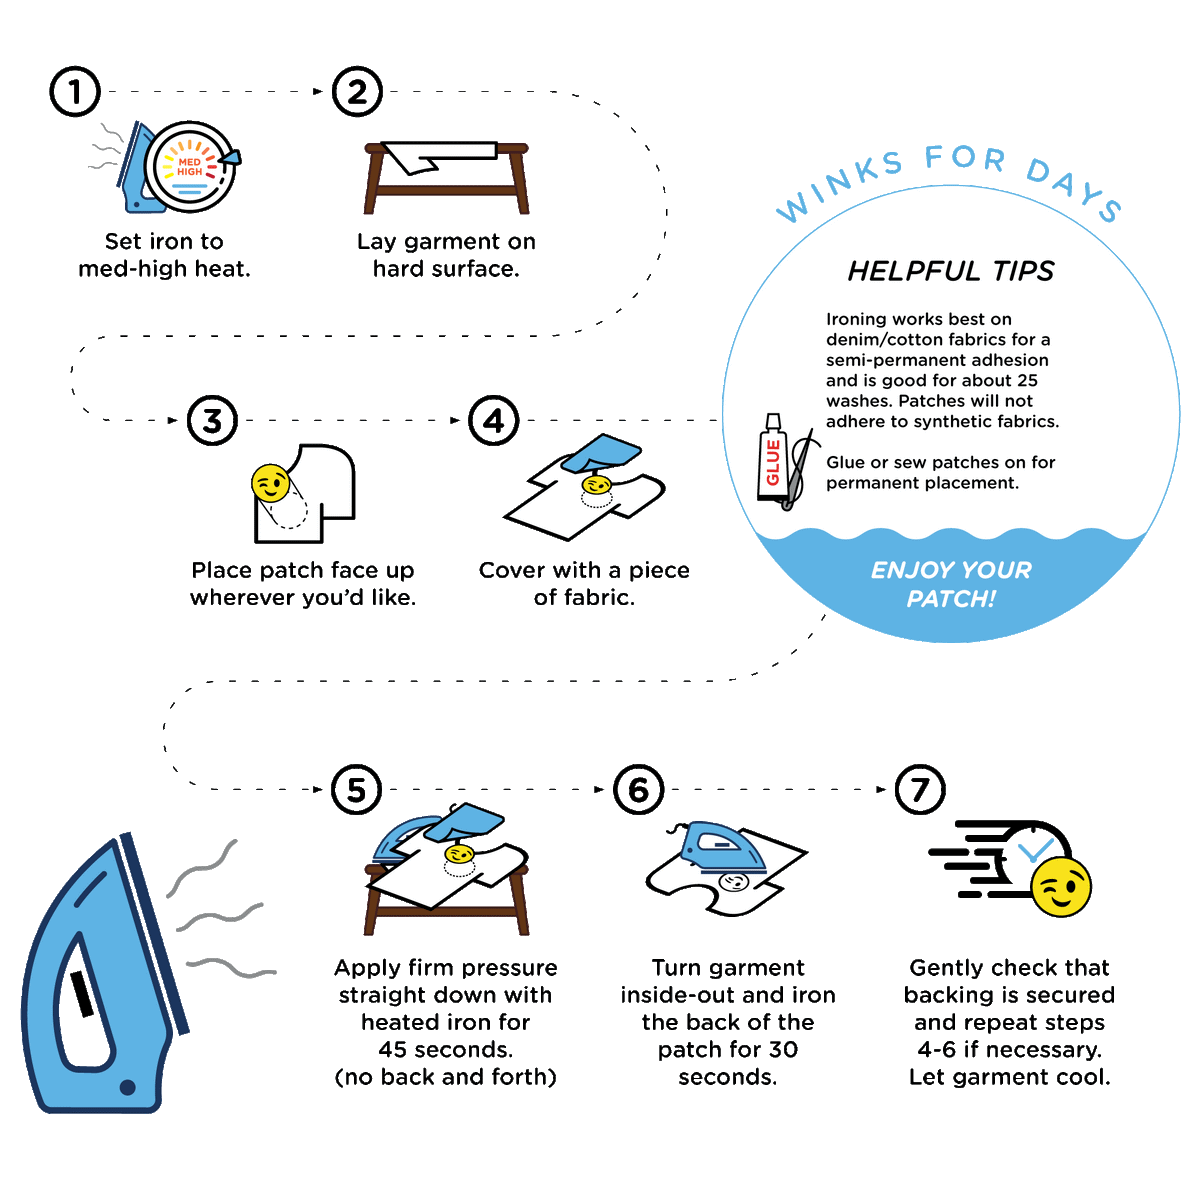
- EASY AND FUN TO APPLY: Each patch has iron-on backing and includes step-by-step iron-on instructions. Don’t have an iron? No worries! Glue, sew or iron patches onto garments, bags, jackets, hats and even shoes if they are large enough! We recommend E6000 Craft Adhesive if you choose to glue your patches on.
- UNIQUE ARTISTIC STYLE: Winks For Days believes in creativity. We design patches ourselves, but also collaborate with talented artists to bring our iron-on patch ideas to life so that our customers can enjoy wearable pieces of original art.
- THE PERFECT GIFT: Adulting is hard, but we have you covered. Merit patches from Winks for Days make perfect presents for family and friends. Need a gift for the responsible adult in your life? Boost their morale with an everlasting reminder of their achievements! Merit patches are cute, clever, nicely packaged and sure to make you a hero!

